Setting Up Snowcloak
Now that all the important plugins are installed, it's time to log in and set up Snowcloak.
Initial Setup
If you're not already logged in on a character, do so now.
If Snowcloak's UI didn't open automatically, you can use either the Dalamud Plugins window or the commands /sync or /snow in chat.

The welcome screen will give you a quick checklist of installed mods. If all looks good, hit next to continue. Read the Terms of Service, and if you agree, click the button.
Similarly to the Penumbra setup, you're now required to set a path and size for your Snowcloak cache.
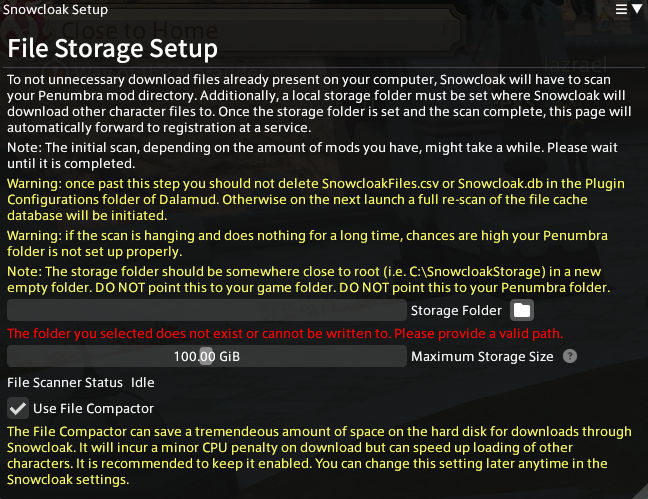
Snowcloak's cache automatically deletes files if it gets too full. Setting a large cache allowance means you delete fewer files, meaning fewer re-downloads if you encounter that mod again in the future.
If you're on Windows, you'll also have the option to use the File Compactor - this uses Windows' built-in compression to shrink files, letting your cache go a little bit further. If you have a reasonably modern machine, it's recommended to leave this on.
Congratulations! You've now completed the basic setup. Now it's time to get you an account.